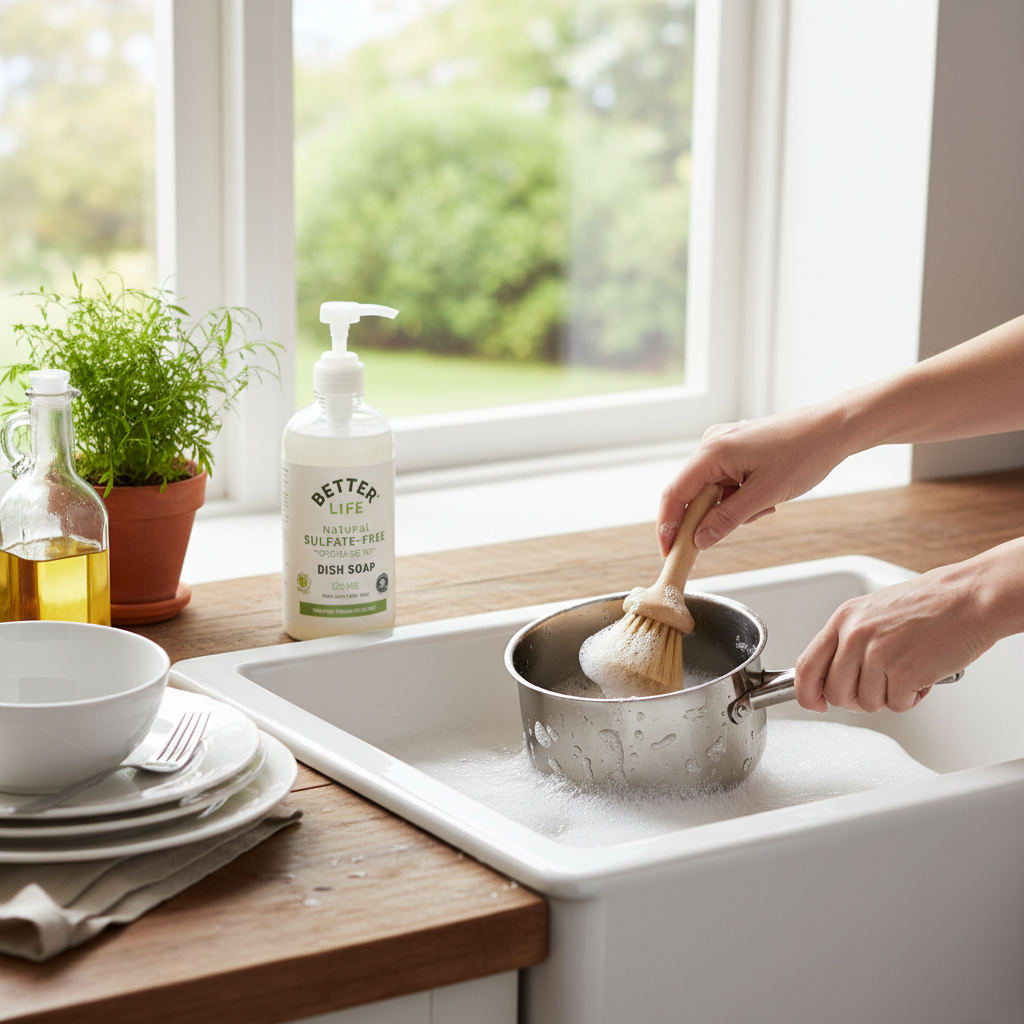
Are you tired of constantly replenishing your dishwashing liquid, feeling like it disappears too quickly? Imagine a simple, effective solution that not only stretches your soap supply for months but also contributes to a more sustainable kitchen. Crafting your own foaming dishwashing liquid at home is a game-changer, offering a trifecta of benefits: significant cost savings, reduced environmental impact, and a more enjoyable cleaning experience. This guide will walk you through the why and how, ensuring your sink sparkling clean while your wallet stays fuller.
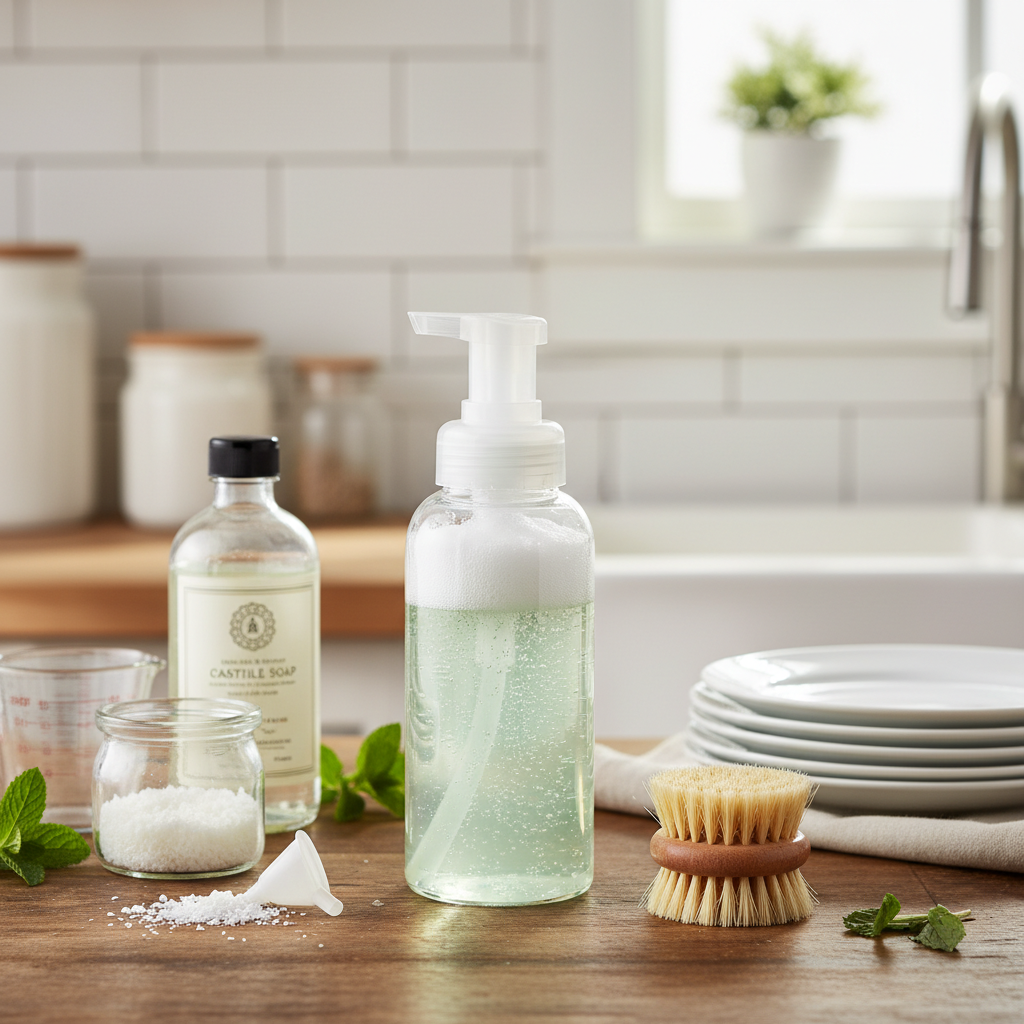
Understanding Foaming Dishwashing Liquid: More Than Just Bubbles
Foaming dish soap isn’t just a novelty; it’s a smarter way to clean. By pre-aerating the soap, each pump delivers a light, airy lather that spreads effortlessly across your sponge or dishes, maximizing coverage and cleaning power with minimal product.
The Advantage of Foaming Dish Soap
The benefits of switching to DIY foaming dish soap are compelling, impacting your budget, the planet, and your daily routine.
- Cost Efficiency: The most immediate advantage is financial. Foaming dish soap typically involves diluting a concentrated liquid soap with water, often at ratios like 1 part soap to 3-5 parts water. This means a single bottle of conventional dish soap can last several times longer, translating into substantial savings over time. You’re essentially buying less soap, less often.
- Eco-Friendly Impact: Beyond savings, this method is a win for the environment. Using less concentrated soap per wash means fewer chemicals go down the drain. Furthermore, extending the life of your soap reduces the frequency of new purchases, leading to less plastic packaging waste and a smaller carbon footprint associated with manufacturing and transport. Less water is also typically used, as the pre-lathered foam rinses off quickly.
- Enhanced Cleaning Experience: The ready-to-use foam spreads easily and provides a satisfying lather without extra effort. This makes washing dishes quicker, more efficient, and often less messy around the sink. The light texture can also feel gentler on your hands, especially when using diluted formulas.
|
Our Picks for the Best Dishwashing liquid in 2026
As an Amazon Associate I earn from qualifying purchases.
|
||
| Num | Product | Action |
|---|---|---|
| 1 | Ajax Ultra Liquid Dish Soap Orange Scent,Triple Action, Mess-Free, Easy-Flip Cap, 52 fl oz Bottle |

|
| 2 | Dawn Ultra Original Dish Soap Refill Jug, Large Size Original Blue Liquid Dishwashing Detergent, Powerful Dawn Dish Soap for Grease, 51.5 oz |
|
| 3 | Dawn Platinum Dish Soap, Fresh Rain Scent Liquid Dishwashing Detergent, Powerful Dawn Dish Soap for Tough Grease Removal, 13 oz |
|
| 4 | Dawn Platinum EZ-Squeeze Dish Soap, Dishwashing Liquid, Fresh Rain, 2x18oz Bundle |
|
| 5 | Dawn Ultra Original Dish Soap Refill Jug Large Size Original Blue Liquid Dishwashing Detergent, Powerful Dawn Dish Soap for Grease, 51.5oz (Pack of 2) |
|
| 6 | Dawn Dishwashing Liquid, Original Scent, 38 fl oz |
|
| 7 | Palmolive Ultra Dishwashing Liquid Dish Soap, Pure + Clear Fragrance Free - 32.5 Fluid Ounce (Packaging may vary) |
|
| 8 | Dawn EZ-Squeeze Ultra Dish Soap, Dishwashing Liquid, Original, Dish Soap Refill, 22 fl oz |
|
| 9 | Ajax Ultra Liquid Dish Soap Orange Scent, Triple Action, 90 fl oz Bottle |
|
| 10 | Cascade Complete Dishwasher Detergent Liquid Gel, Dish Detergent, Dishwasher Soap, Citrus, 75oz |
|
Choosing Your Base: Best Liquid Dish Soap for Foaming
While the beauty of DIY foaming dish soap is its versatility, selecting the right liquid soap can enhance your experience. Any liquid dish soap can technically be foamed, but for optimal results and a gentle touch, consider these factors. Look for concentrated formulas, as they offer better value and performance when diluted. Opt for soaps with pleasant, mild scents or, for sensitive skin, fragrance-free options. Many prefer to use natural, plant-based dish soaps like Castile soap, which offer effective cleaning without harsh chemicals.
Decoding Dishwashing Liquid Ingredients: What You Need to Know
Understanding the ingredients in your dishwashing liquid is crucial, even when diluting for foaming. Knowing what contributes to cleaning power and what to avoid ensures both effectiveness and safety for your household and the environment.
Key Components for Cleaning Power
The primary active ingredients in dishwashing liquid are surfactants (surface-active agents). These are the compounds responsible for breaking down grease, lifting food particles, and creating lather. They work by reducing the surface tension of water, allowing it to better penetrate and surround dirt and oil, which can then be easily rinsed away. Common gentle surfactants might include decyl glucoside or coco-glucoside.
Ingredients to Avoid in Dishwashing Liquid
When selecting a dish soap to foam, be mindful of ingredients that can be harsh on your skin, irritate your respiratory system, or harm the environment.
- Triclosan: An antibacterial agent linked to hormone disruption and antibiotic resistance.
- Sodium Lauryl Sulfate (SLS) and Sodium Laureth Sulfate (SLES): Common surfactants that create lather but can cause skin and eye irritation. SLES may also be contaminated with 1,4-dioxane, a possible carcinogen.
- Artificial Fragrances & Phthalates: Often contain undisclosed chemicals that can trigger allergies, respiratory issues, and hormone disruption. Phthalates are a common component of synthetic fragrances.
- Phosphates: While good at softening water, they contribute to water pollution and can cause skin irritation.
- Chlorine: A powerful disinfectant that can release irritating fumes and is harmful to aquatic life.
- Formaldehyde Releasers: Preservatives that slowly release formaldehyde, a known carcinogen and irritant. Look out for names like DMDM Hydantoin or Quaternium-15.
- Parabens: Used as preservatives, these have been linked to hormone disruption.
- Synthetic Dyes: Often unnecessary and can contain heavy metals or toxins, potentially leaving residues.
DIY Foaming Dishwashing Liquid: Your Step-by-Step Guide
Creating your own foaming dishwashing liquid is surprisingly simple and requires minimal supplies. Follow these straightforward steps to transform your regular dish soap into a cost-saving, lather-rich solution.
What You’ll Need
Gathering these items is the first step towards your DIY dish soap journey:
- Empty Foaming Soap Dispenser: You can repurpose an old foaming dispenser from hand soap or dish soap, or purchase a new one. Glass or durable plastic options are great for reusability.
- Your Chosen Liquid Dish Soap: Any liquid dish soap works, but selecting a high-quality, gentle, or natural option can enhance the experience.
- Water: Distilled or filtered water is highly recommended. Tap water can be used, but minerals in hard water might reduce foaming efficiency over time and lead to clogs.
- Optional Add-ins: A few drops of your favorite essential oils (like lemon or tea tree for extra cleaning power and scent) or a small amount of a carrier oil (like jojoba oil, especially with Castile soap, to help with skin moisturization) can customize your mix.
Simple Instructions to Make Your Foaming Soap
Once you have your supplies, the process takes mere minutes:
- Preparation: Ensure your foaming soap dispenser is clean and empty. Rinse it thoroughly with water if it’s been used before.
- Add Soap: Pour approximately 1 part liquid dish soap into the bottom of the dispenser. A common starting point is to fill about 1/4 to 1/5 of the bottle with soap. For example, if your bottle holds 10 ounces, add 2-2.5 ounces of soap. Alternatively, measure about one inch of soap from the bottom of the bottle.
- Add Water: Slowly fill the remaining portion of the bottle with 3-5 parts water, leaving about an inch of headspace at the top. This space is essential for the pump mechanism to work effectively without overflowing. Pouring slowly helps prevent excessive bubbles from forming prematurely. Using warm water can sometimes aid in better mixing, especially with thicker soaps.
- Gentle Mixing: Screw the pump top back onto the bottle securely. Gently invert the bottle a few times or swirl it to combine the soap and water. Avoid vigorous shaking, as this will create too many bubbles inside the bottle, making it harder to pump initially.
- Test and Adjust: Pump a small amount of foam into your hand or onto a sponge to test the consistency. If the foam is too thin, add a little more soap. If it’s too thick or hard to pump, add a bit more water. Adjust until you find your preferred richness.
Maximizing Your Foaming Dishwashing Liquid Experience
Getting the most out of your DIY foaming dish soap involves not just making it, but also using and maintaining it effectively.
Tips for Effective Use
- The Right Amount: One or two pumps are usually sufficient for a small stack of dishes. The pre-lathered foam means you don’t need a large dollop of liquid soap.
- Scrape First: Always scrape food scraps from your dishes before washing to maximize the soap’s cleaning power and reduce waste.
- Direct Application: Pump the foam directly onto your sponge or brush for efficient distribution. For heavily soiled items, apply foam directly to the item and let it sit for a moment before scrubbing.
Maintaining Your Foaming Dispenser
A well-maintained dispenser ensures consistent foam and extends its lifespan.
- Regular Cleaning: Every few refills, or at least once a month, rinse your dispenser bottle and pump thoroughly with warm water. This prevents soap residue and mineral buildup (especially if using tap water) from clogging the pump mechanism.
- Preventing Clogs: If you notice the pump becoming stiff or producing less foam, run warm water through the pump by holding it under the faucet and pumping until clear. Using distilled or filtered water consistently can largely mitigate mineral buildup issues.
Foaming Dishwashing Liquid vs. Traditional Liquid: A Comparison
Choosing how you dispense your dish soap can significantly impact your cleaning routine, budget, and environmental footprint. Here’s a quick comparison between traditional undiluted liquid dish soap and your homemade foaming version.
| Feature | Traditional Liquid Dish Soap | DIY Foaming Dishwashing Liquid |
|---|---|---|
| Concentration | Undiluted | Diluted (1:3 to 1:5 soap:water) |
| Usage per Wash | Higher | Significantly lower |
| Cost Efficiency | Standard | High (extends soap life, reduces purchase frequency) |
| Lathering | Requires scrubbing to lather | Pre-lathered, instant foam |
| Water Usage | Potentially higher to rinse | Lower (foam rinses faster) |
| Environmental Impact | More soap/packaging waste | Less soap/packaging waste |
| Gentleness on Hands | Can be harsh (concentrated) | Generally gentler (due to dilution) |
“Transforming your dish soap into a foamy delight isn’t just a clever hack; it’s a mindful choice that echoes through your wallet and the planet.”
In essence, DIY foaming dishwashing liquid offers a compelling upgrade to your kitchen routine. It’s an easy, economical, and eco-conscious way to handle daily dish duties. The simple act of diluting your liquid soap not only stretches your budget but also minimizes waste and often feels gentler on your hands. By taking control of your cleaning supplies, you’re making a smart choice for your home and the environment. Why not give this simple DIY a try and experience the satisfying lather and surprising savings for yourself? What will be your favorite scent to infuse into your next homemade batch?
Frequently Asked Questions
Is foaming dish soap less effective than regular liquid dish soap?
No, it’s equally effective, just diluted. The foaming action helps spread the soap efficiently, allowing less product to do the same job while covering a larger surface area with ease, maintaining cleaning efficacy.
Can I use any liquid dish soap for DIY foaming soap?
Yes, most liquid dish soaps work well. However, consistency might vary; highly concentrated or gel-like soaps might require slightly more water for proper dispensing. Experimentation with your preferred brand is key to finding the ideal ratio.
How often should I clean my foaming soap dispenser?
It’s recommended to rinse your dispenser and pump thoroughly every few refills or at least once a month. This practice helps prevent clogs from soap residue or mineral buildup, particularly if you’re using tap water, ensuring smooth operation.
What is the ideal soap-to-water ratio for foaming dish soap?
A common starting point is 1 part dish soap to 3-5 parts water. Thicker soaps may need more water (e.g., 1:5), while thinner ones might be fine with less (e.g., 1:3). Adjust based on the desired foam consistency and your specific liquid soap.
Does hard water affect DIY foaming dish soap?
Yes, hard water minerals can interfere with the soap’s ability to foam effectively and may lead to clogs in the dispenser over time. For the best results and to extend the life of your dispenser, using distilled or filtered water is highly recommended.